
From Signing to Savings: 5 Steps to Switch to Solar
So, you’ve made the decision to switch to solar. Congratulations! You are just five steps away from soaking in all of the benefits that solar power can bring. As your installer, Synergy Power will be coordinating and taking care of the majority of the project. But understanding the process yourself will give you a good grasp on what to expect along the way.
Step 1: Site Evaluation
Before you sign your installation contract, your home will be assessed for solar panels. The initial assessment will determine your daily electrical usage, the best location for your solar array, and the roof’s condition. An engineer may be needed to inspect the integrity of an older building’s structure and grandfathered electrical wiring.
In most cases, this evaluation can be done entirely online. Submitting photographs of your roof, utility bill, and electric meter through an online form can replace the need for an in-person appointment. An experienced team can use this information to determine your solar panel system design and quote.
Step 2: Building Permits
Paperwork is a necessary part of any construction, and solar panel systems are no different. Some localities have unique safety ordinances that will need to be taken into account. If you are part of an HOA, there may be additional cosmetic specifications to consider as well. The design of your solar array can be adjusted to accommodate the rules of your area.
Building permits and electrical permits need to be submitted to your city inspector for approval before construction can begin. You may also need a permit from your utility company. Waiting for the permits to be returned can be a process of patience. Once the signatures are received, materials will be ordered and an installation date will be set.
Step 3: Solar Panel Installation
The exciting day has arrived and construction can begin! Your materials will likely have been delivered early in the morning, or possibly the previous afternoon. First, the electrical wiring is laid out on the roof and connected to your electric panel. Then, a racking system is installed and fastened directly to your roof rafters. This will serve as a support base for the solar panels, which are installed next. An inverter unit is necessary to convert the direct current (DC) electricity harnessed from the sun into the alternating current (AC) that is able to be used in homes.
Some inverters, such as micro-inverters, are included in the roof array, while other inverters are installed on the ground. Connecting the inverter is the final part of the some inverters (such as micro-inverters) are included in the roof array, while others (such as central units) are installed on the ground. Connecting the inverter is the final part of the roof installation.
The installation process can take as little as one day, or extend to a few days, depending on the size and scope of the project. Including options such as a solar storage battery unit, a net metering power meter, or multiple large solar arrays over a large property, may add hours or days of additional work.
Step 4: Approval and Interconnection
After construction is complete, the work will need to be inspected and approved. Your local government building inspector will check for correct wiring, safe mounting, and adherence to building codes. A representative from the utility company will ensure that the electrical elements are compatible with the public grid.
It can take between two weeks to a month to receive the signed approvals from both inspectors, but once they are received, your system will go live! Your solar panels will begin generating electricity immediately.
Step 5: Apply for Solar Incentives
You might think that going live is the final step to the installation process, but to truly get the most benefit from your solar panels, there is one last thing to do. Simply switching away from the public grid to solar power will bring savings. The amount of savings you see from your investment is directly affected by how many incentives you reach out for.
Looking into SREC (Solar Renewable Energy Certificate), Solar ITC (Investment Tax Credit), and NEM-2 (Net Energy Metering) programs may bring in annual financial benefits for years to come. Financing options such as a PACE (Property Assessed Clean Energy) loan or taking out an HELOC (Home Equity Line Of Credit) can make your investment payments into a size that fits your budget.
Worth the Wait
The time between signing the contract and your panels going live can range from 6 weeks to over 4 months, depending on the demand in your area. Choosing to begin in the off-season winter months can make the wait significantly shorter. Here at Synergy Power, we provide an app to keep homeowners in close communication with us every step of the way. You can download the app for free for Apple iOS or Android. Once the work is finished, your solar power system will be running your home for decades to come, saving you money and giving you peace of mind.
Schedule A Consultation
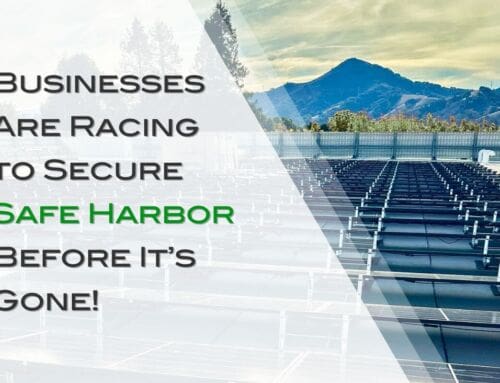
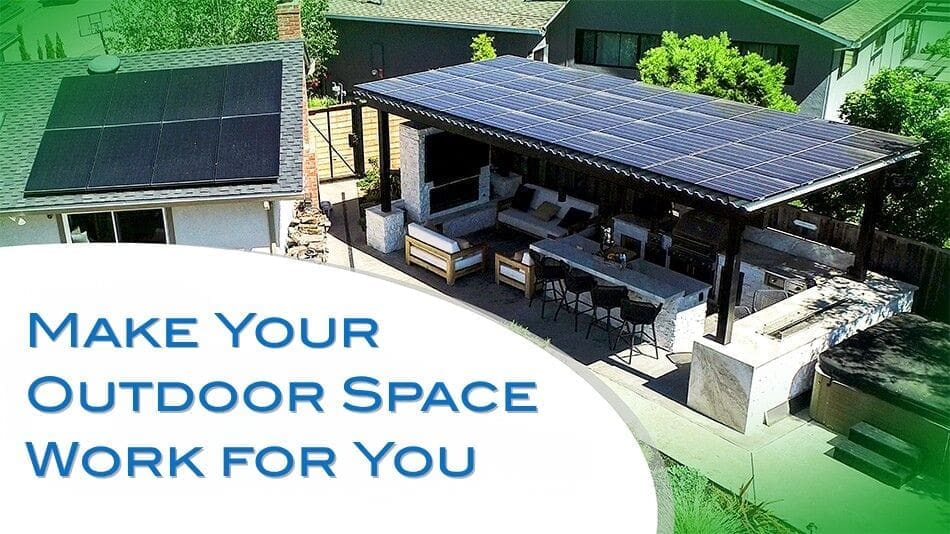
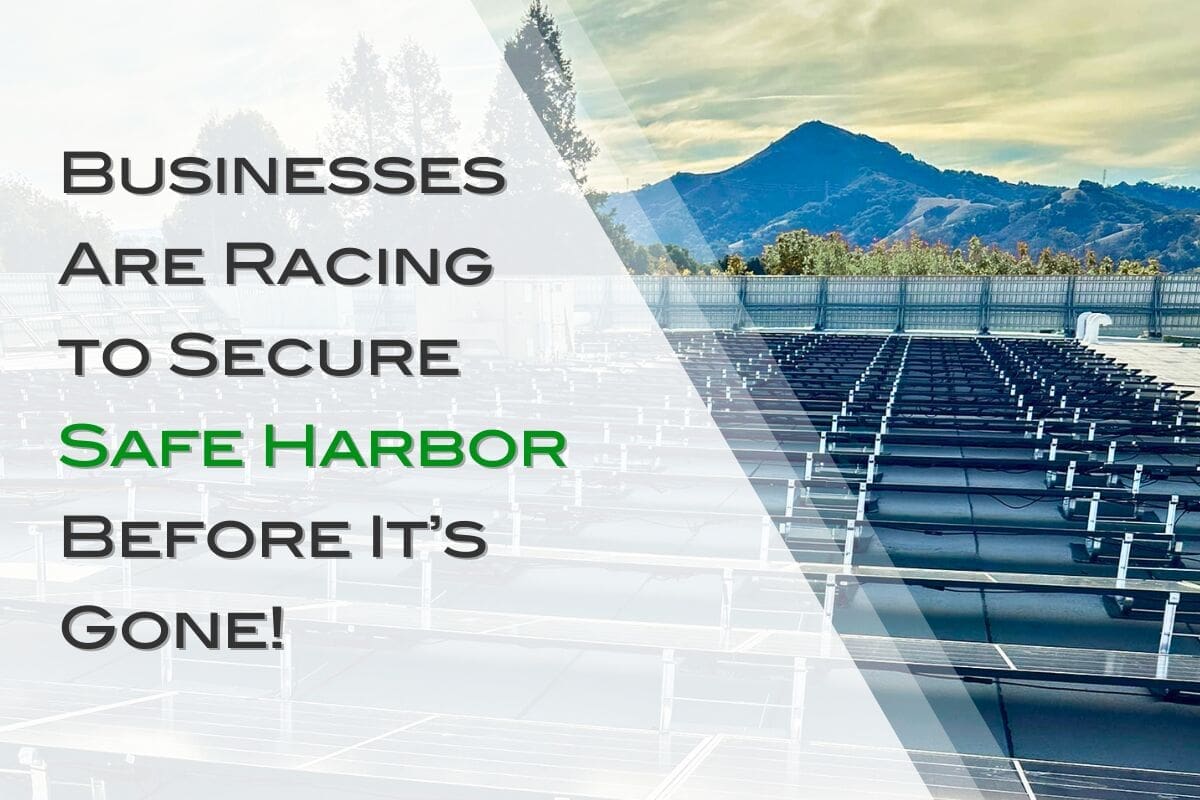
Related Posts


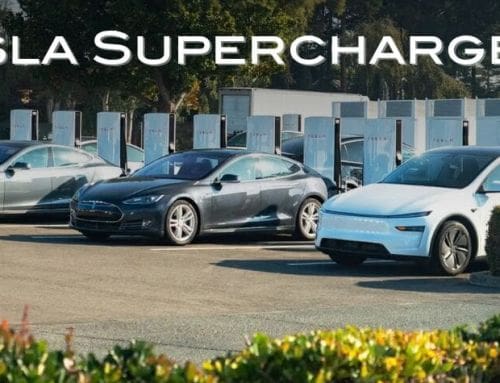

Recent Projects


